
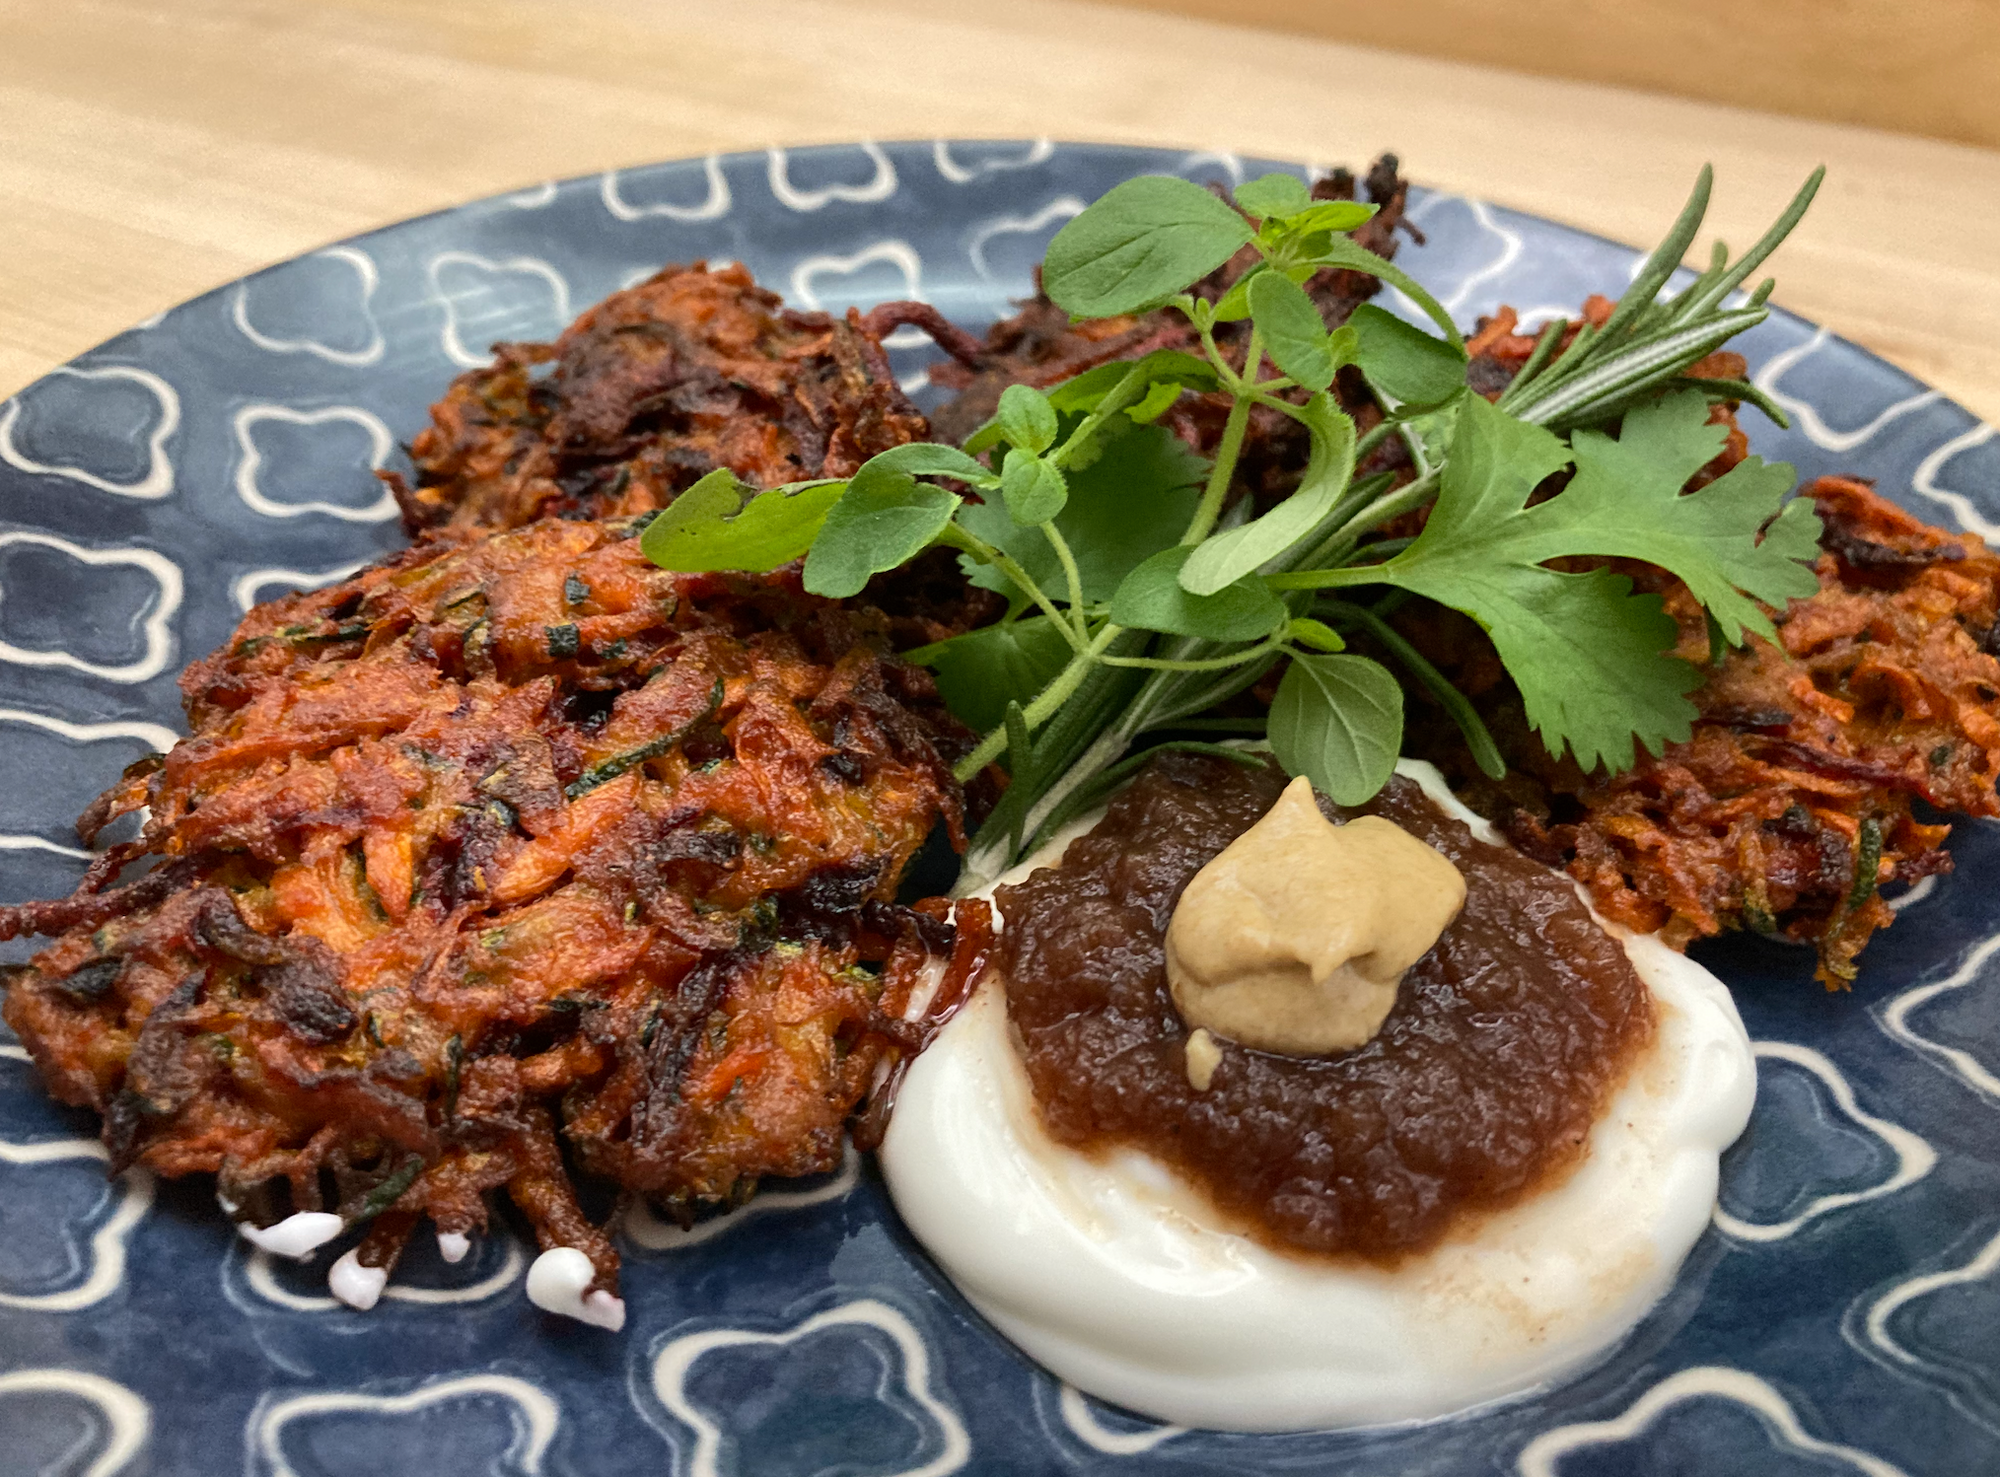
Latkes... known by many names including "Potato Pancakes," are a comfort food in many cultures around the world. Our recipe features fresh zucchini, and is reminiscent of the classic old-world recipe where potatoes were not readily available. Plus, it's a great way to add a healthy serving of green to your meal.

INGREDIENTS
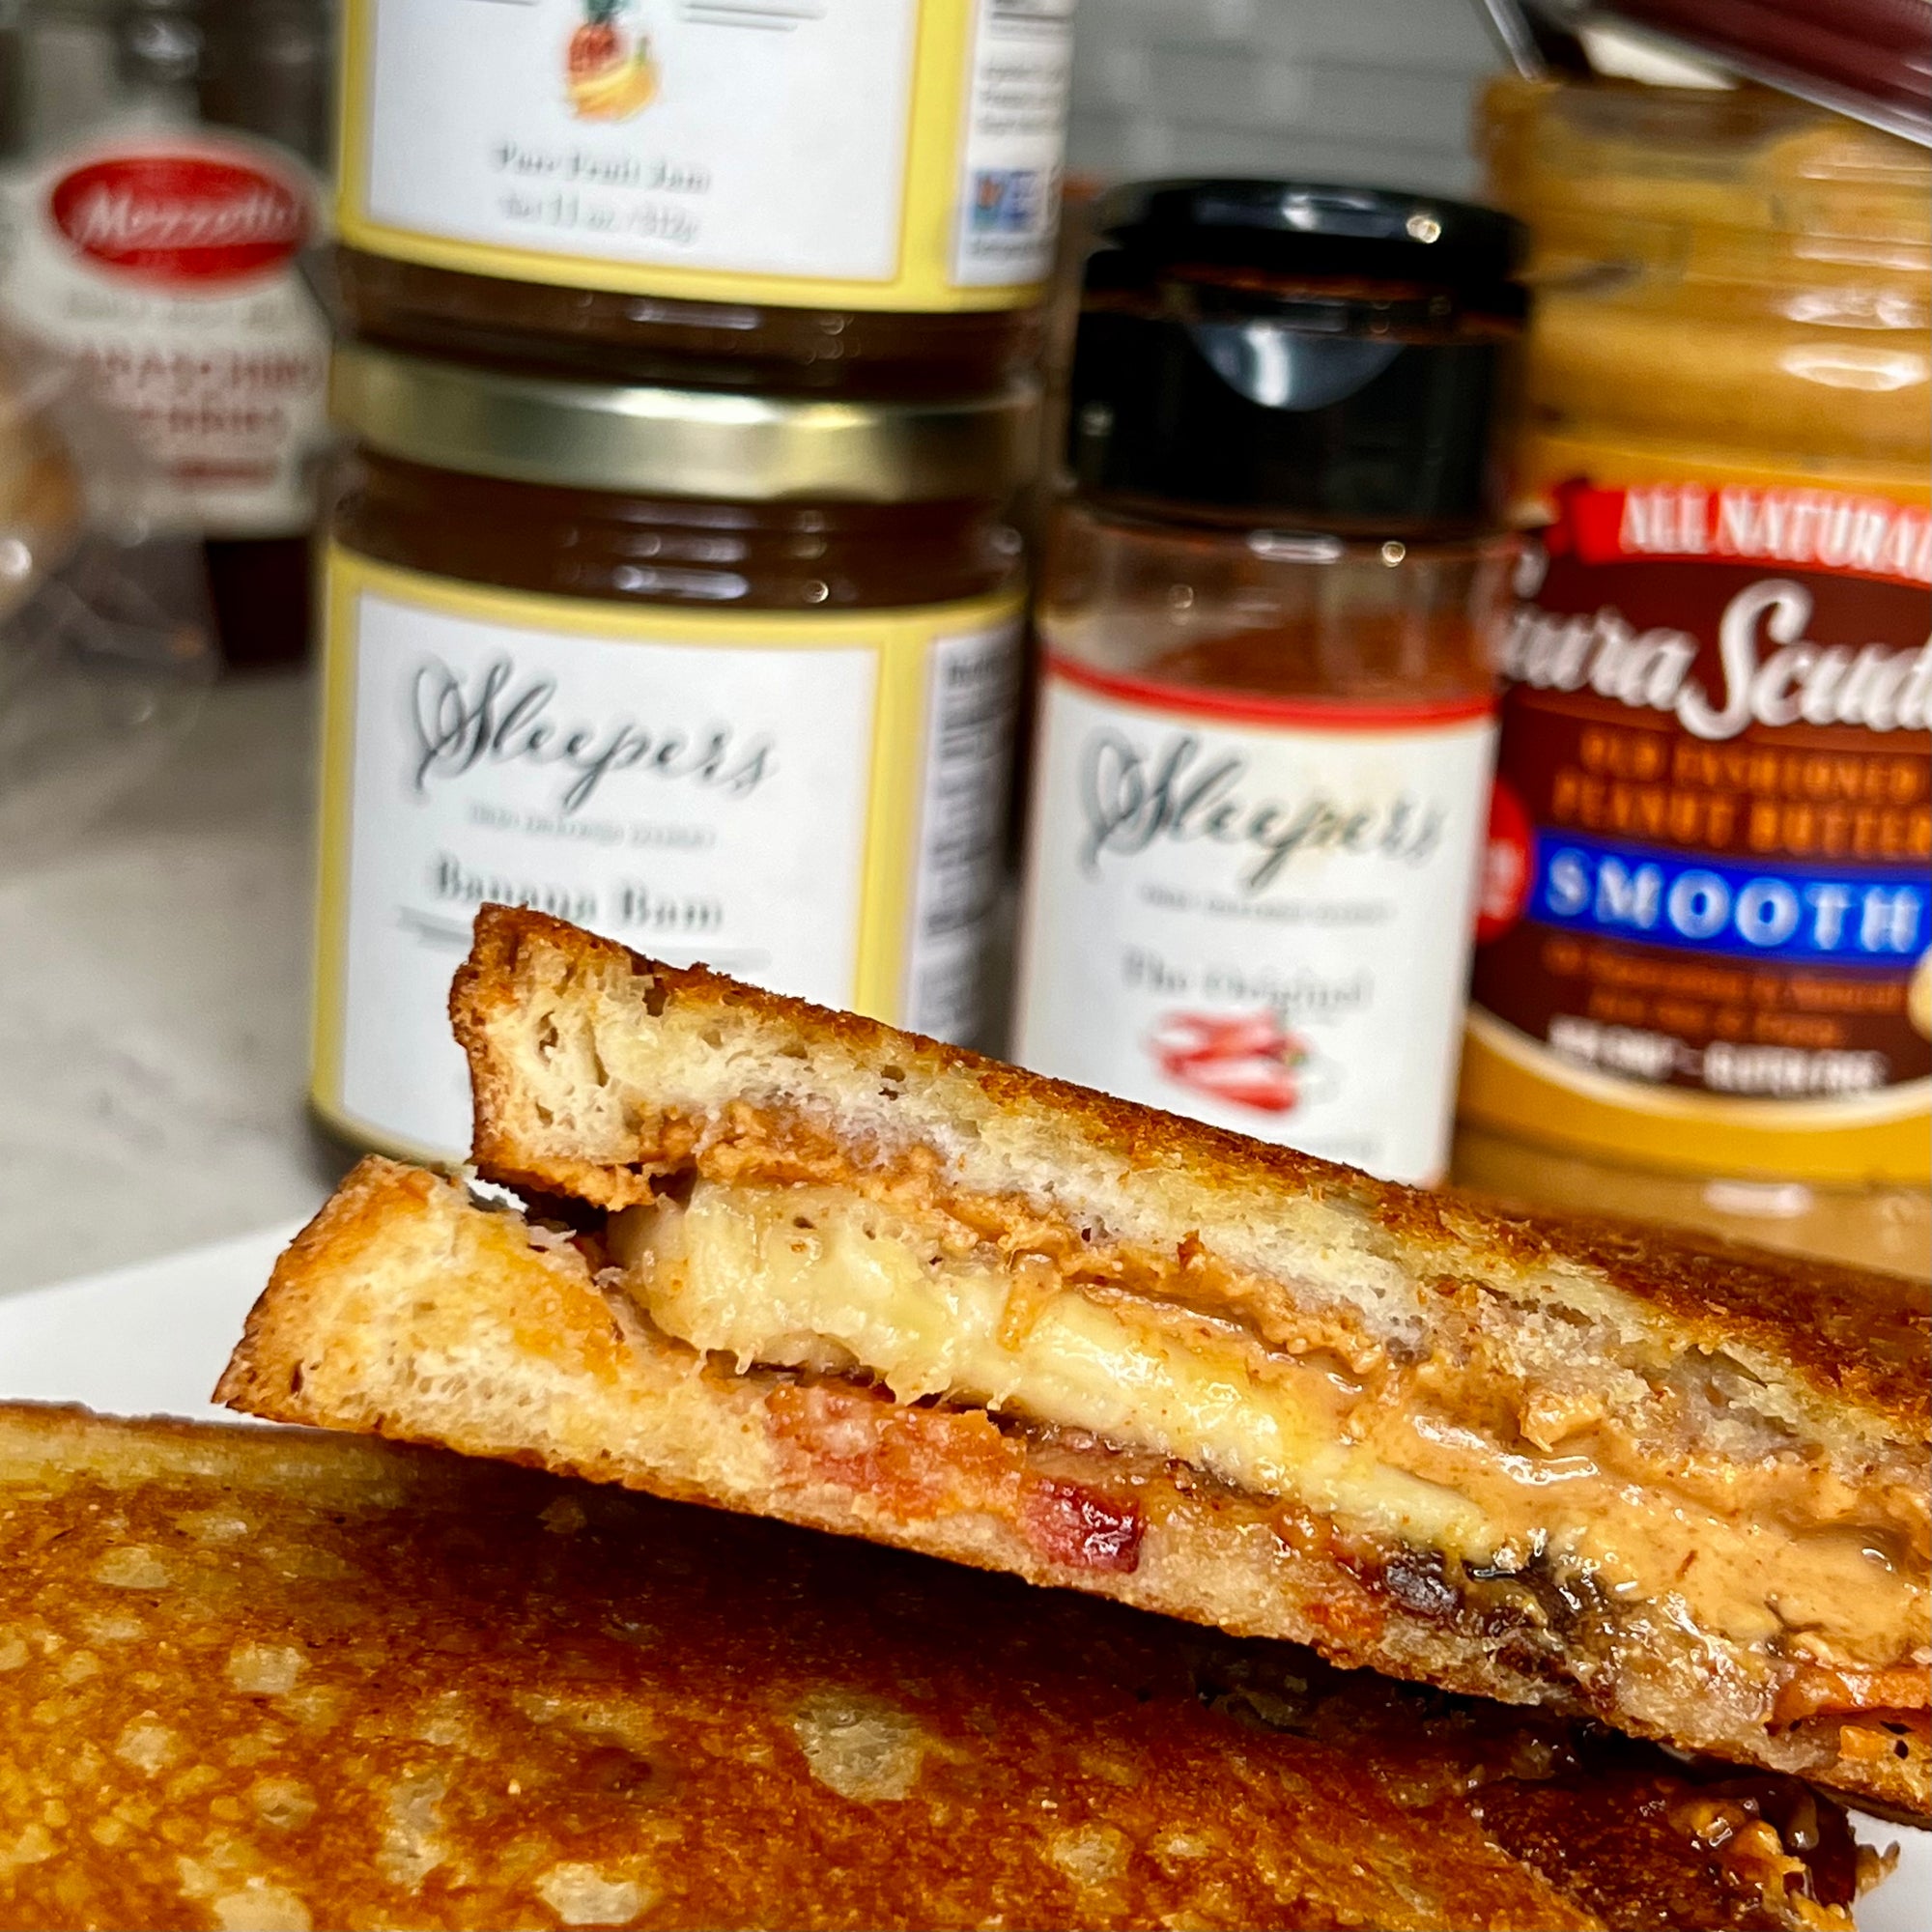
2 slices White Bread---we like tuscan or potato bread
Unsalted butter, softened
The Original Seasoning
3 slices Bacon
1 tablespoon or so Banana Bam
1 medium ripe Banana, sliced into strips about ¼ “ thick
Special Equipment: Cast Iron Skillet or Flattop Griddle
INSTRUCTIONS
Serves 2-4
INGREDIENTS
PREPARATION
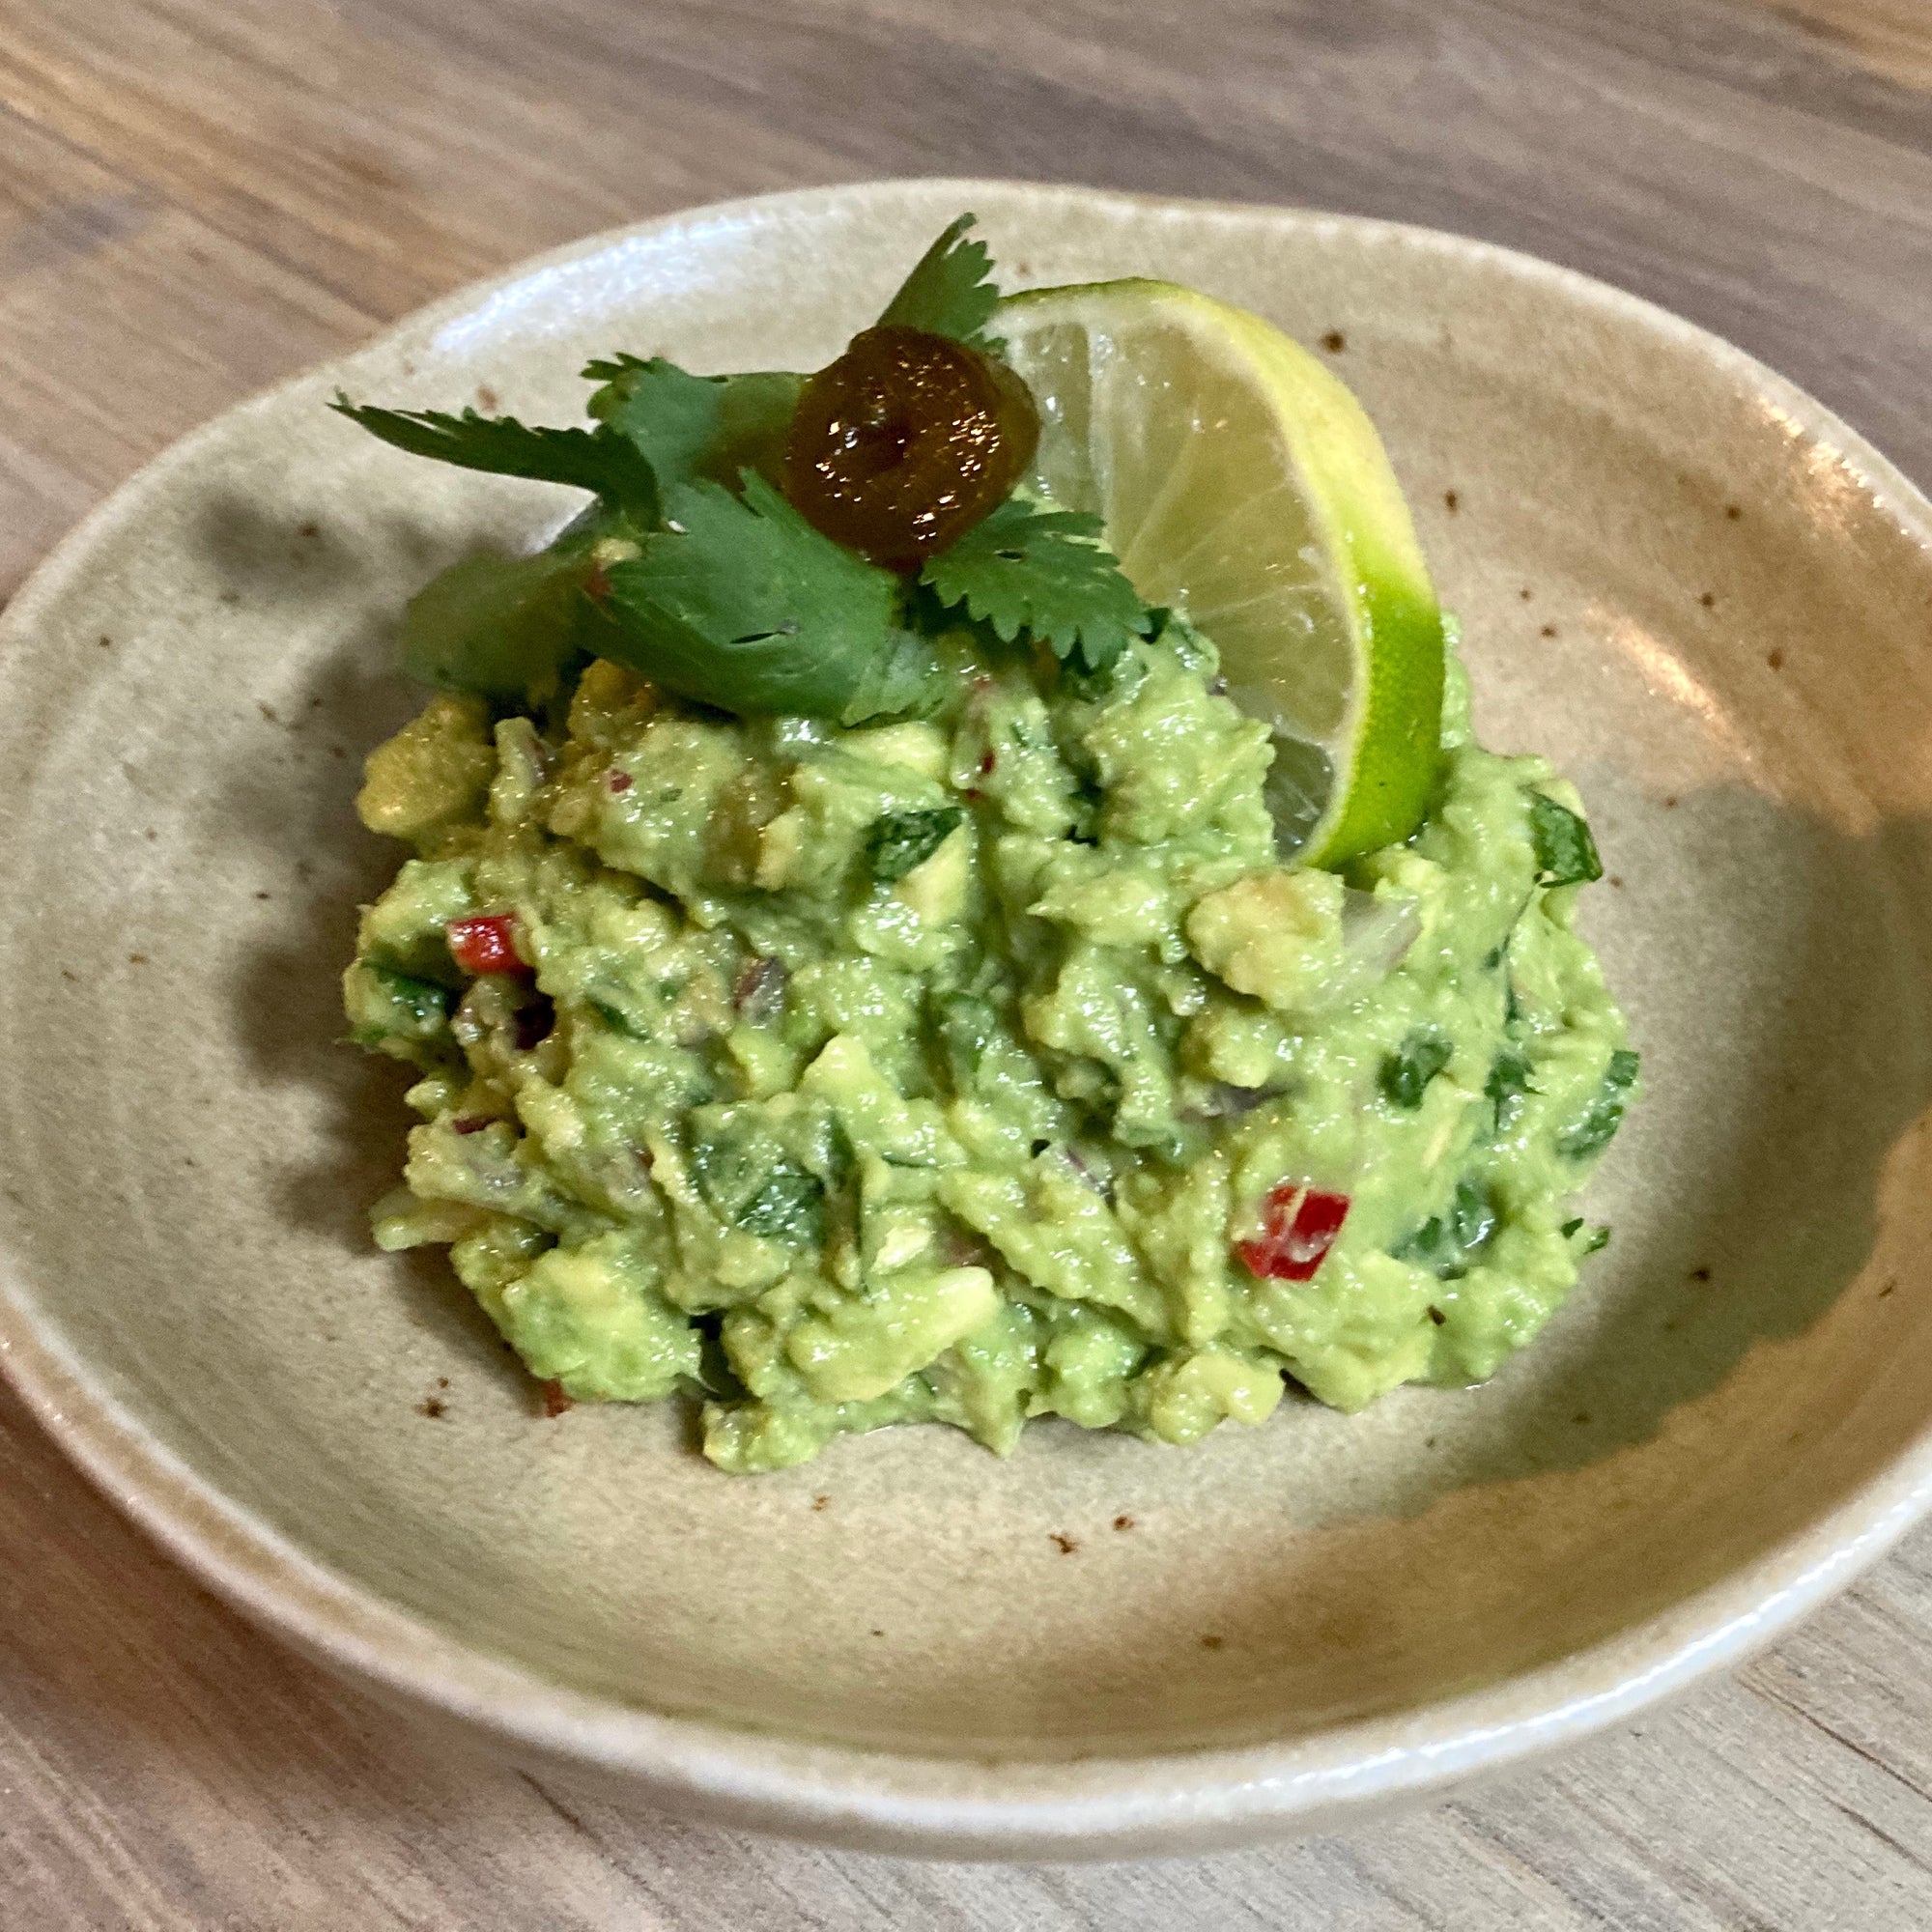
In a medium bowl, mash avocados together with onions, jalapeños and cilantro. Add lime juice and stir well to incorporate all ingredients. Sprinkle with sea salt. Taste and adjust as your palate desires. Serve with our "Nacho Ordinary Steak n' Potatoes," "Turkey Enchiladas or just enjoy with chips.
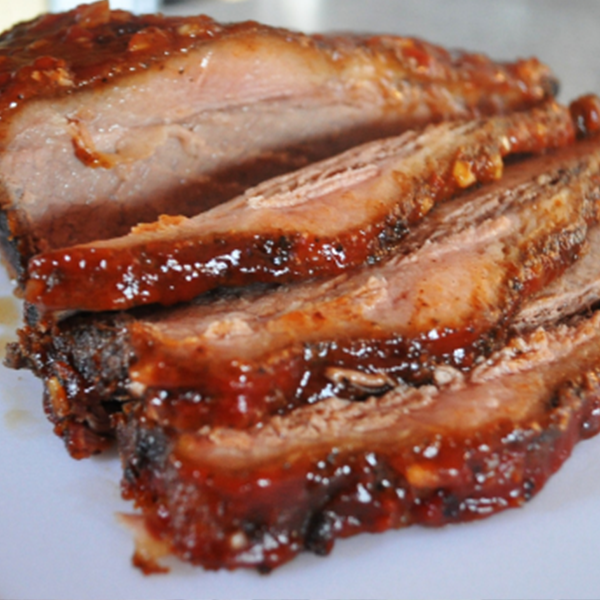
Want a brisket so juicy it will melt in your mouth and so EASY it seems effortless?
Our California inspired recipe immersed in homemade BBQ sauce goodness will give your friends and family something to savor. Even better the next day in sandwiches!
Makes 6 - 8 Servings
INGREDIENTS
5 lbs. Beef Brisket
5 Large Cloves Fresh Garlic, chopped
1 Large Onion, coarsely chopped
1 14 oz. Can Tomato Sauce
2 T "The Original" seasoning
1 Cup Brown Sugar
3 T Red Wine Vinegar
3 T Worcestershire Sauce
DIRECTIONS
Preheat oven to 250ºF.
In saucepan on medium heat, mix together tomato sauce, "The Original," vinegar, sugar, mustard & Worcestershire. Bring to a boil, then lower heat to simmer and let cook until sauce thickens, about 5 minutes. Taste and adjust seasonings if necessary to your taste---add more seasoning if you like it spicier, or sugar if you like it sweeter. Put brisket in shallow baking pan and sprinkle with chopped onion and garlic. Slather with BBQ sauce. Cover and place in oven for 5 hours. Remove and let rest before slicing.
ENJOY!
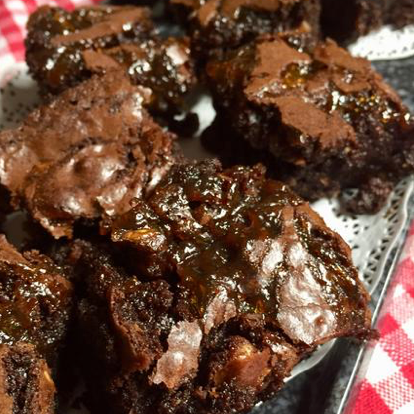
This is the ONLY brownies recipe I've used for more than 25 years… It's gooey. It's chewy. It's simple and simply delicious adapting well to flavor additions like this variation that elevates the chocolate with a hint of fruitiness and a salty finish. Give it a try and you'll taste why.
INGREDIENTS
¾ c unsalted butter, melted
¼ c unsalted butter, for greasing pan or substitute with cooking spray
1 ½ c sugar
1 ½ t ground vanilla beans, preferred or pure vanilla extract is acceptable
3 eggs, room temperature
¾ c all-purpose flour
½ c Cocoa Powder *
½ t baking powder
½ c semi-sweet chocolate chips *
½ c white chocolate chips *
¾ c chopped walnuts, optional
½ c of jam like "Oh Razzzberries! or "Tangerine LUV"
DIRECTIONS
• Heat oven to 325º.
• Grease square or rectangular pan roughly 9" x 9" with the additional butter.
• In medium bowl, blend melted butter, sugar and vanilla.
• Add eggs, beat well with spoon.
• In separate bowl, combine flour, cocoa, salt and baking powder. Gradually add to egg mixture, beating until well blended.
• Stir in chocolate chips---and nuts if desired. Spread into prepared pan.
• To add a fruity burst of flavor, dollop three large spoonfuls of jam across top of batter. With butter knife, swirl the jam into the batter.
• Bake 45-50 mins or until toothpick comes out clean and brownies begin to pull away from sides of pan.
Cool completely, cut into mini squares and serve. To turn them into an even sweeter treat, add a scoop of your favorite deep chocolate gelato or rich vanilla bean ice cream!
Enjoy!
*Note: Our preferred chocolate for baking and more is Ghirardelli, the 3rd oldest chocolate maker in the United States and proudly produced in California since 1852.
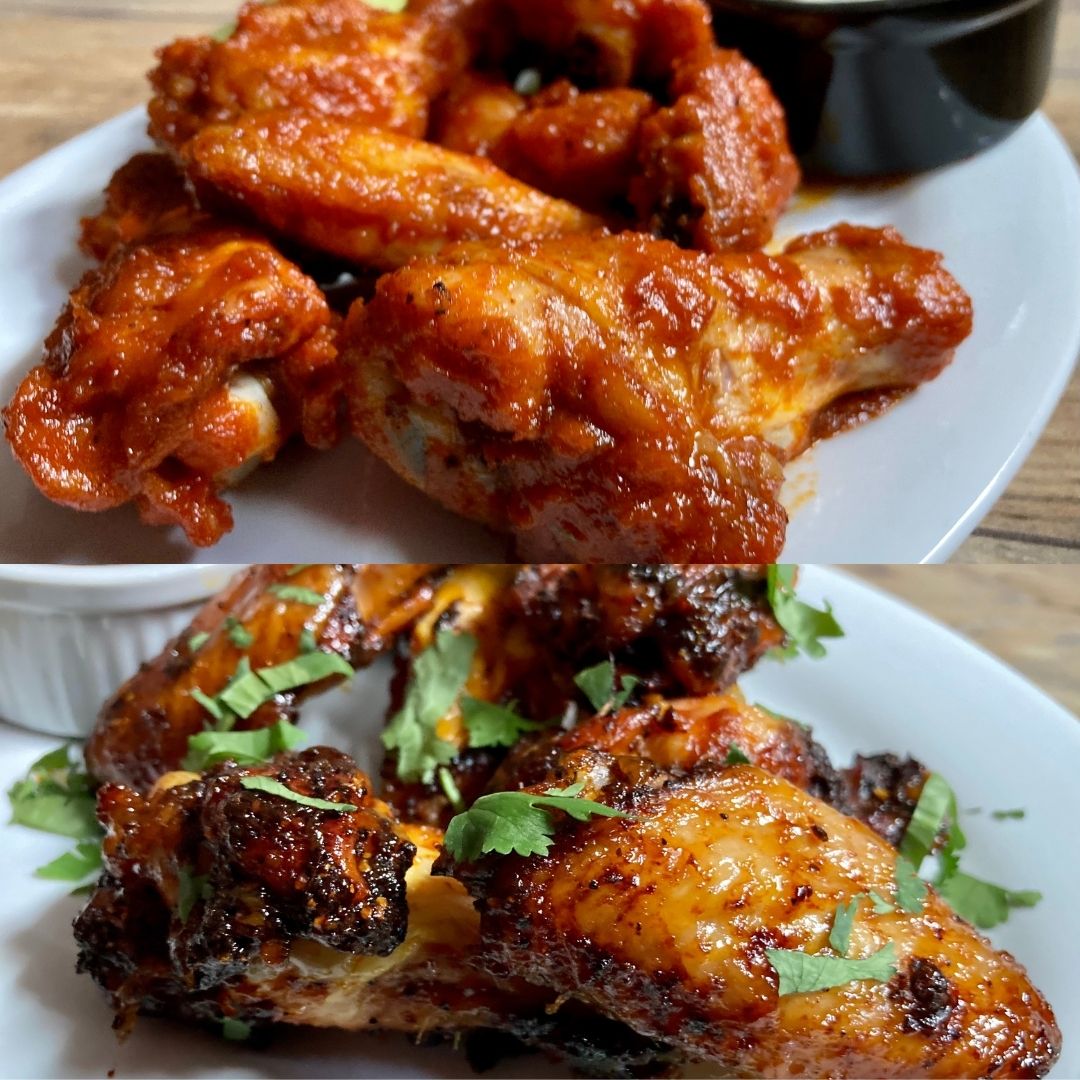
On Super Bowl Sunday, Americans consume almost 1.5 billion chicken wings. That's A LOT OF birds!
However, not too long ago, these flappers were considered scrap meat used almost exclusively for making stocks and sauces
and not served as the finger licking delicacy that we’ve come to love.
We’ve taken inspiration from some of our favorite wings flavors to create two new wing recipes that we think have real game West Coast Hotties pay homage to classic Buffalo Wings with a California kick of extra heat and spice. The Kojo Spiced Wings get their depth of flavor from coffee and smoked ancho chilis and a sticky sweet finish from a flavorfully spiced glaze that marries two of our most popular jams. Both are baked in the oven and ready in about an hour. Serve separately or create a toothsome pairing that will surely delight the taste buds of even the most erudite wing connoisseur.
Each recipe serves About 4
West Coast Hotties With Animal Style Sauce
INGREDIENTS
For the wings:For the Blue Cheese Cooling Dip:
Mix all ingredients together in a small bowl. Can be made a day in advance-- but if your house is like mine, it won't last so better make a double batch!
Kojo Spiced Wings With Sweet Sticky Sauce
INGREDIENTS
For the wings:For the sauce:
DIRECTIONS
Whisk together in a small bowl to remove all lumps.
Use as directed above or in any recipe that calls for baking powder.

INGREDIENTS
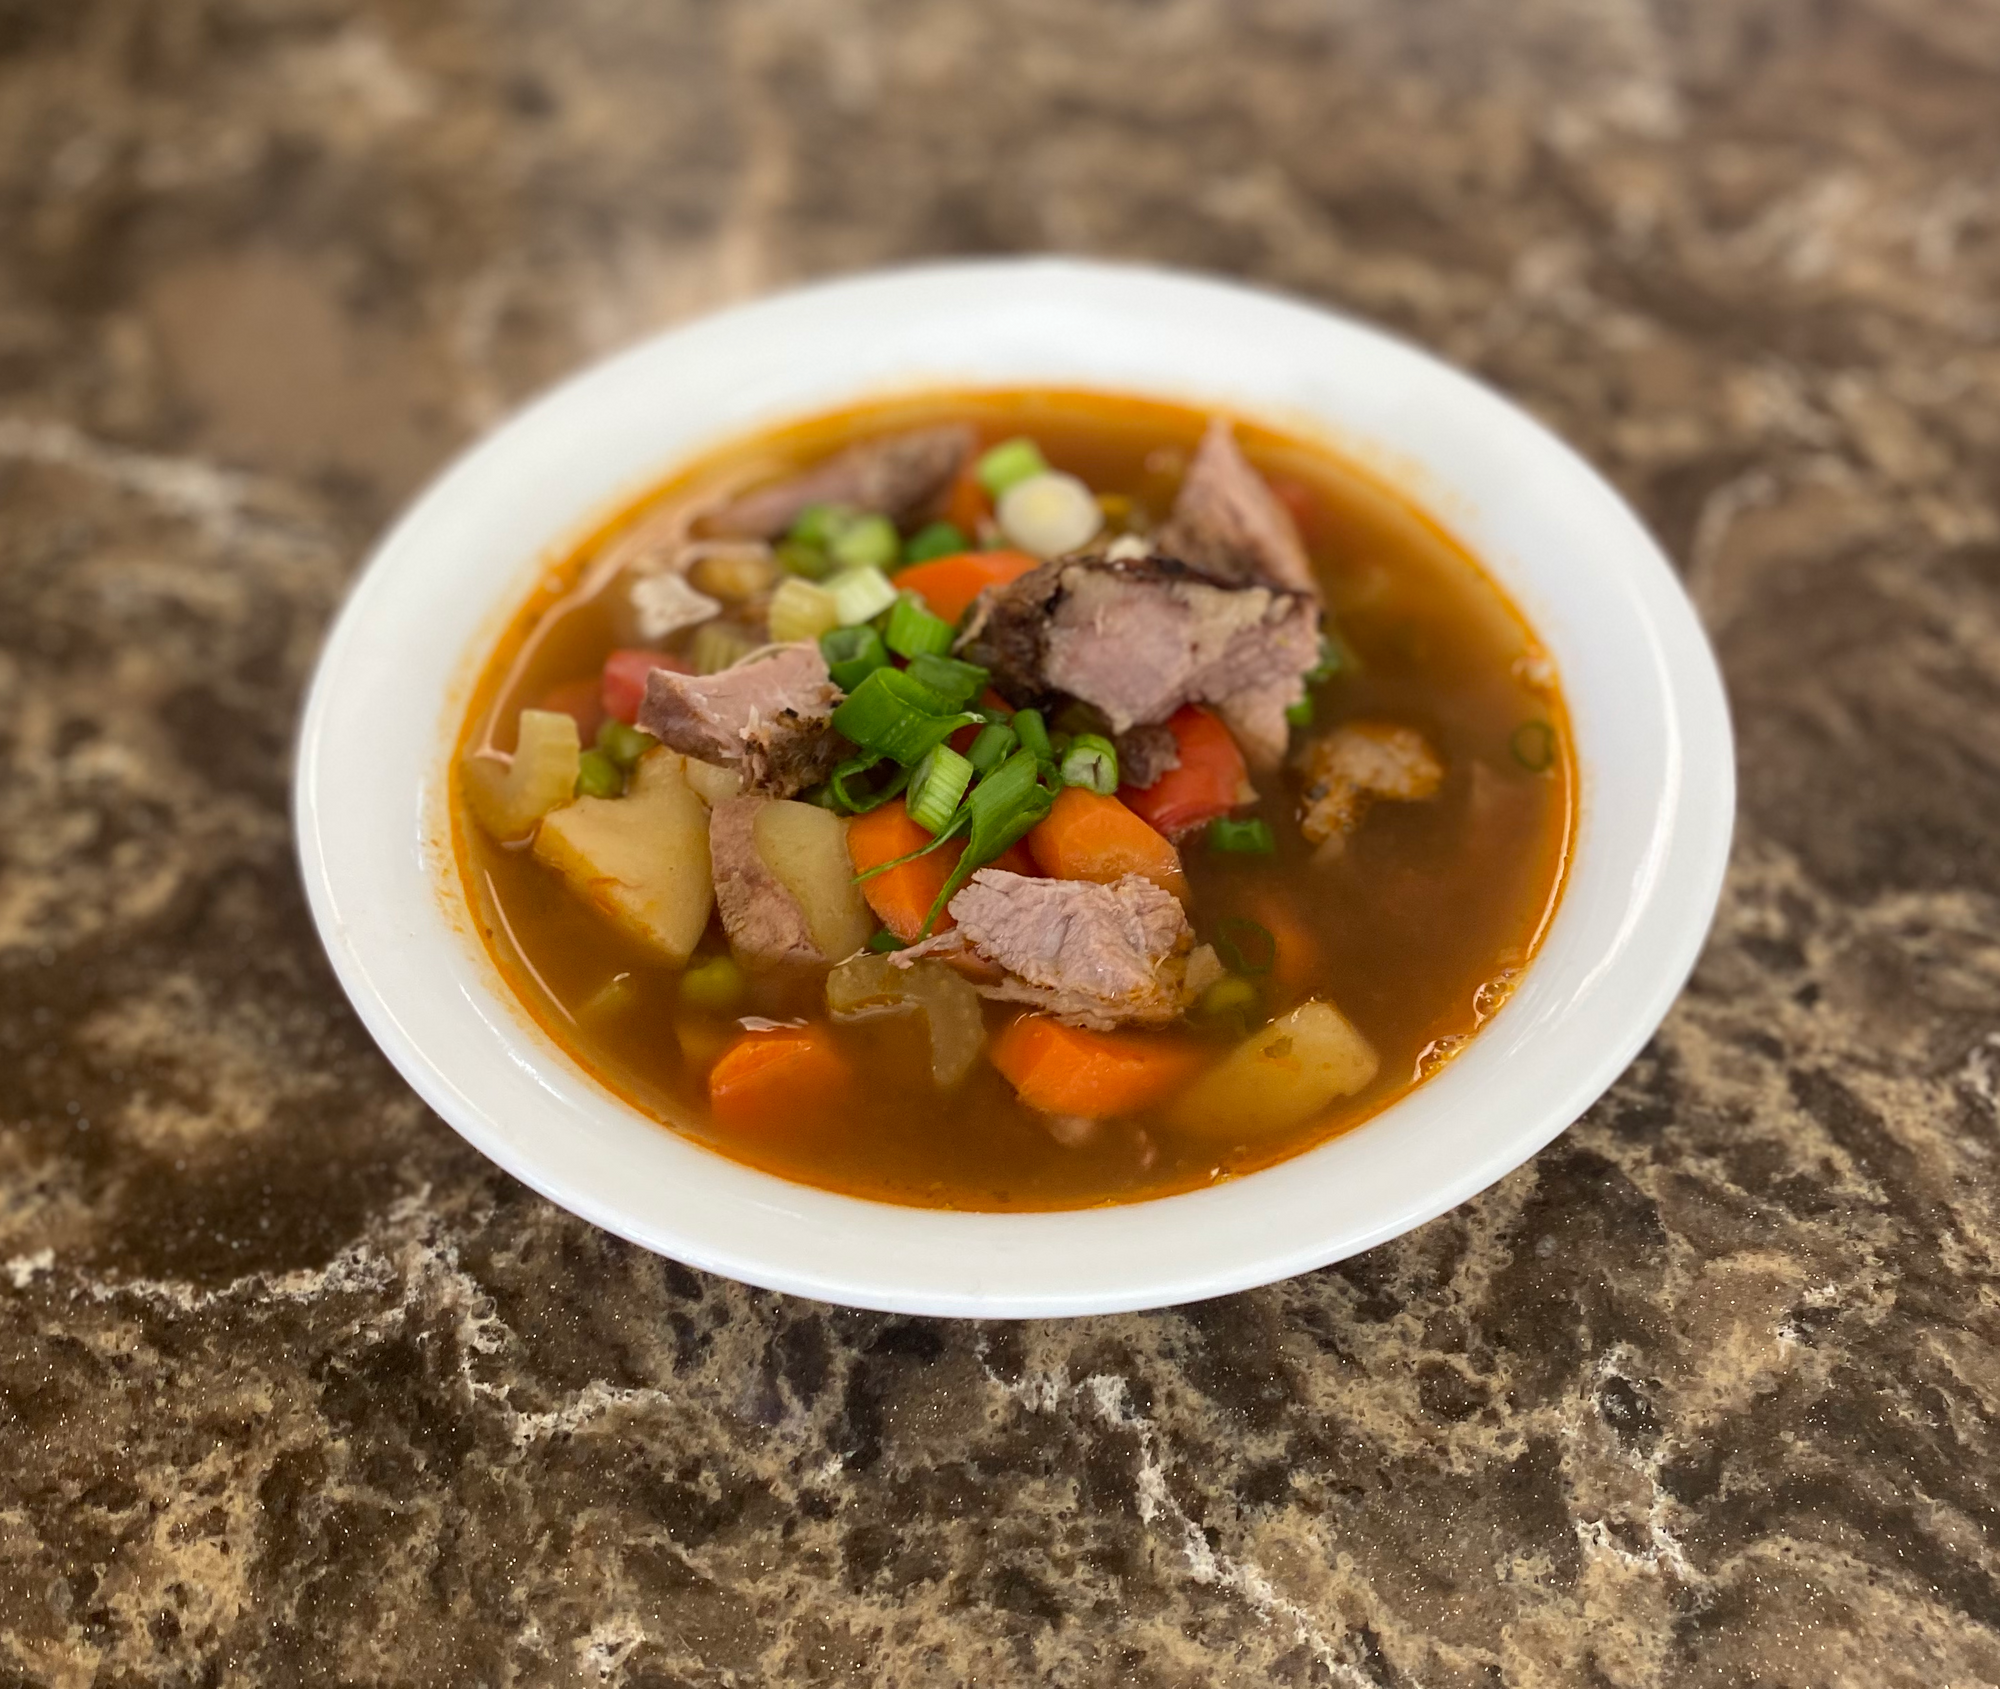
5 lbs Beef Stew or Chuck Roast (preferably the less-fatty meat)DIRECTIONS
First, brown your beef--tastes better if u do.
Next, add all ingredients to crock pot & let cook 3 to 4 hours, or until u can tear apart with fork or with hand potato masher. It might take longer.
Remember, if u let it cook too long it gets mushy & u don't want that. Don't let it dry out either--if it does, add a little water.
Add your favorite BBQ sauce if you like or make your own*
Bon Appetite
Love MA
INGREDIENTS
1 1/2 Cup Brown Sugar
1 1/2 Cup Ketchup
1/2 Cup Vinegar (Red or Cider works great!)
1/2 Cup Water
1 Tablespoon Worcestershire Sauce
2 1/2 Tablespoons Dry Mustard
1 1/2 Tablespoons The Original Seasoning
Dash of Red Hot Pepper Sauce (To Your Desired Heat)
DIRECTIONS
Add all ingredients (except hOver medium heat allow the sugar to melt and combine all the ingredients. Bring to a boil and cook for a few minutes reducing slightly to thicken. Add a dash or three of hot sauce. Taste and make any adjustments to your preferred palate. Enjoy on the pulled pork or with any other BBQ meats. This sauce is also GREAT on fries!
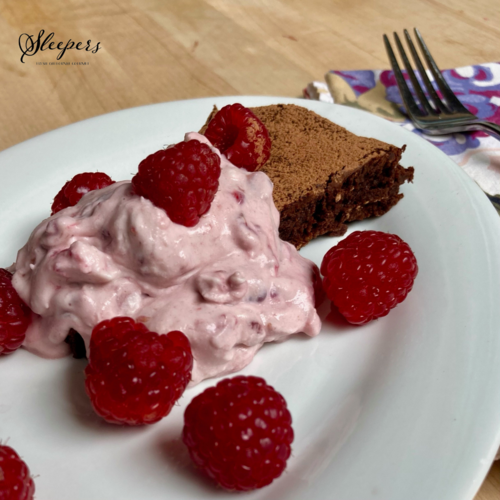
8” cake pan
parchment or waxed paper
INGREDIENTS
CAKE DIRECTIONS
FOOL DIRECTIONS
TO SERVE
Enjoy!

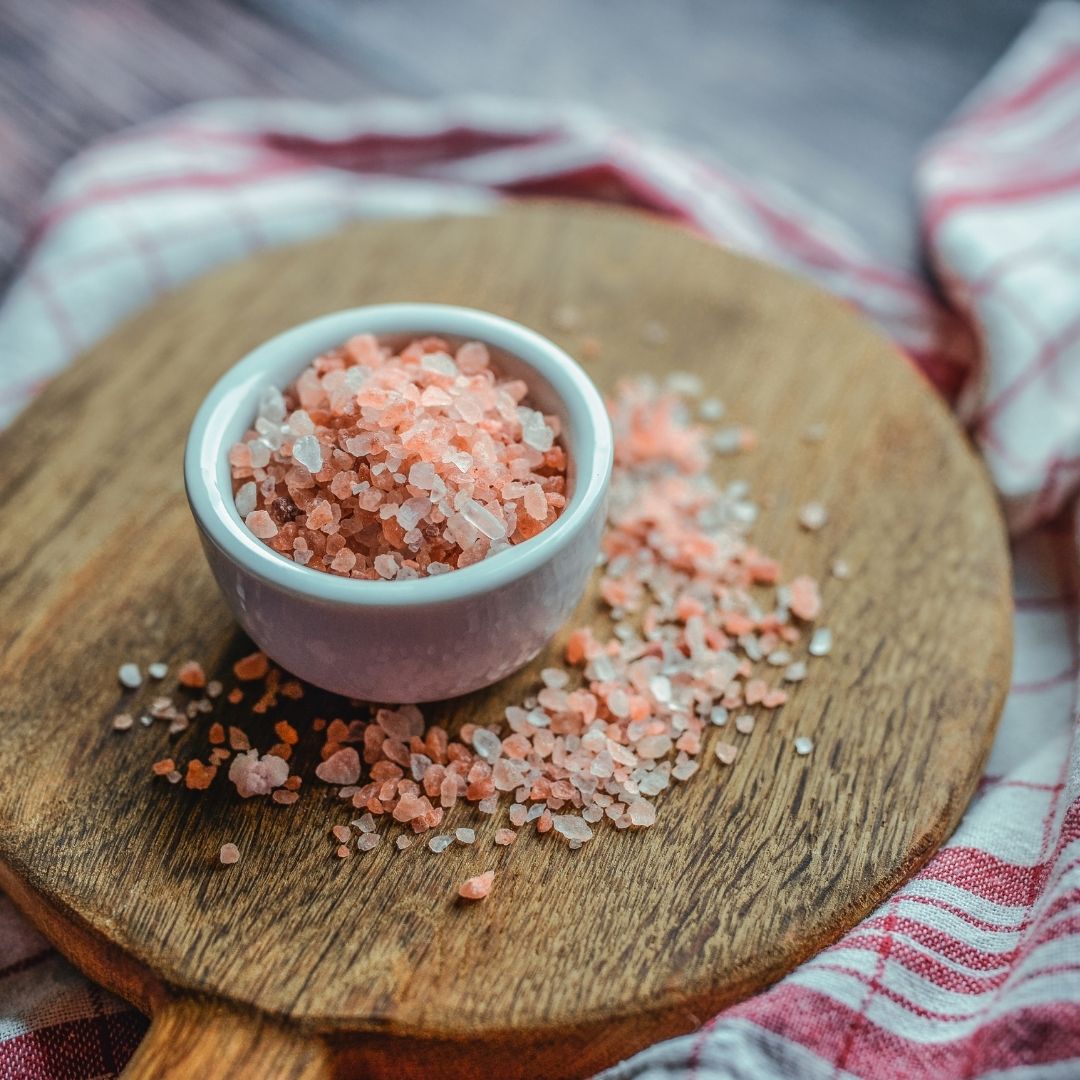
Rose Mountain
Our Rose Mountain Himalayan sea salt is a medium grain salt with varying hues of red, pink and white crystals.
Legend traces the discovery of the Himalayan salt deposits to the army of Alexander the Great. However, the first physical records of mining this rose colored treasure are from the 1200s. The salt is harvested in the Punjab province of Pakistan, which is situated in the foothills of the Salt Range system.
These beautiful rose crystals, rich in dozens of trace minerals, (the pink hue comes from iron,) formed from a thick layer of evaporites left with the receding of ancient sea beds nearly 600 million years ago, leaving one of the purest salts on earth.
Use Rose Mountain just like you would ordinary table salt. We sell a medium grain crystal, you may want to grind the salt to a finer consistency for a particular recipe to ensure the proper measurement.
Cook, bake or finish any dish or drink with this premium Himalayan salt.
Elevate every bite!
Suggested Recipes:
Boozy Upside Down Skillet Cake
Grilled Pork Chop w/Roasted Zucchini and Lemon Ricotta Spinach Sauce
CLICK HERE to shop!

SPECIAL EQUIPMENT
Medium Saucepan
INGREDIENTS
2 large or 4 medium russet baking potatoes, peeled
Toppings:
½ cup diced fresh tomatosalsa
(We add them all for triple the YUM!)
PREPARATION
Preheat the oven to 450º.
Put whole peeled potatoes in a large pot and cover with water to parboil.
Place pot on the stovetop and bring to a boil. Then, turn the heat off, cover the pot with a lid and let rest for 15 minutes.
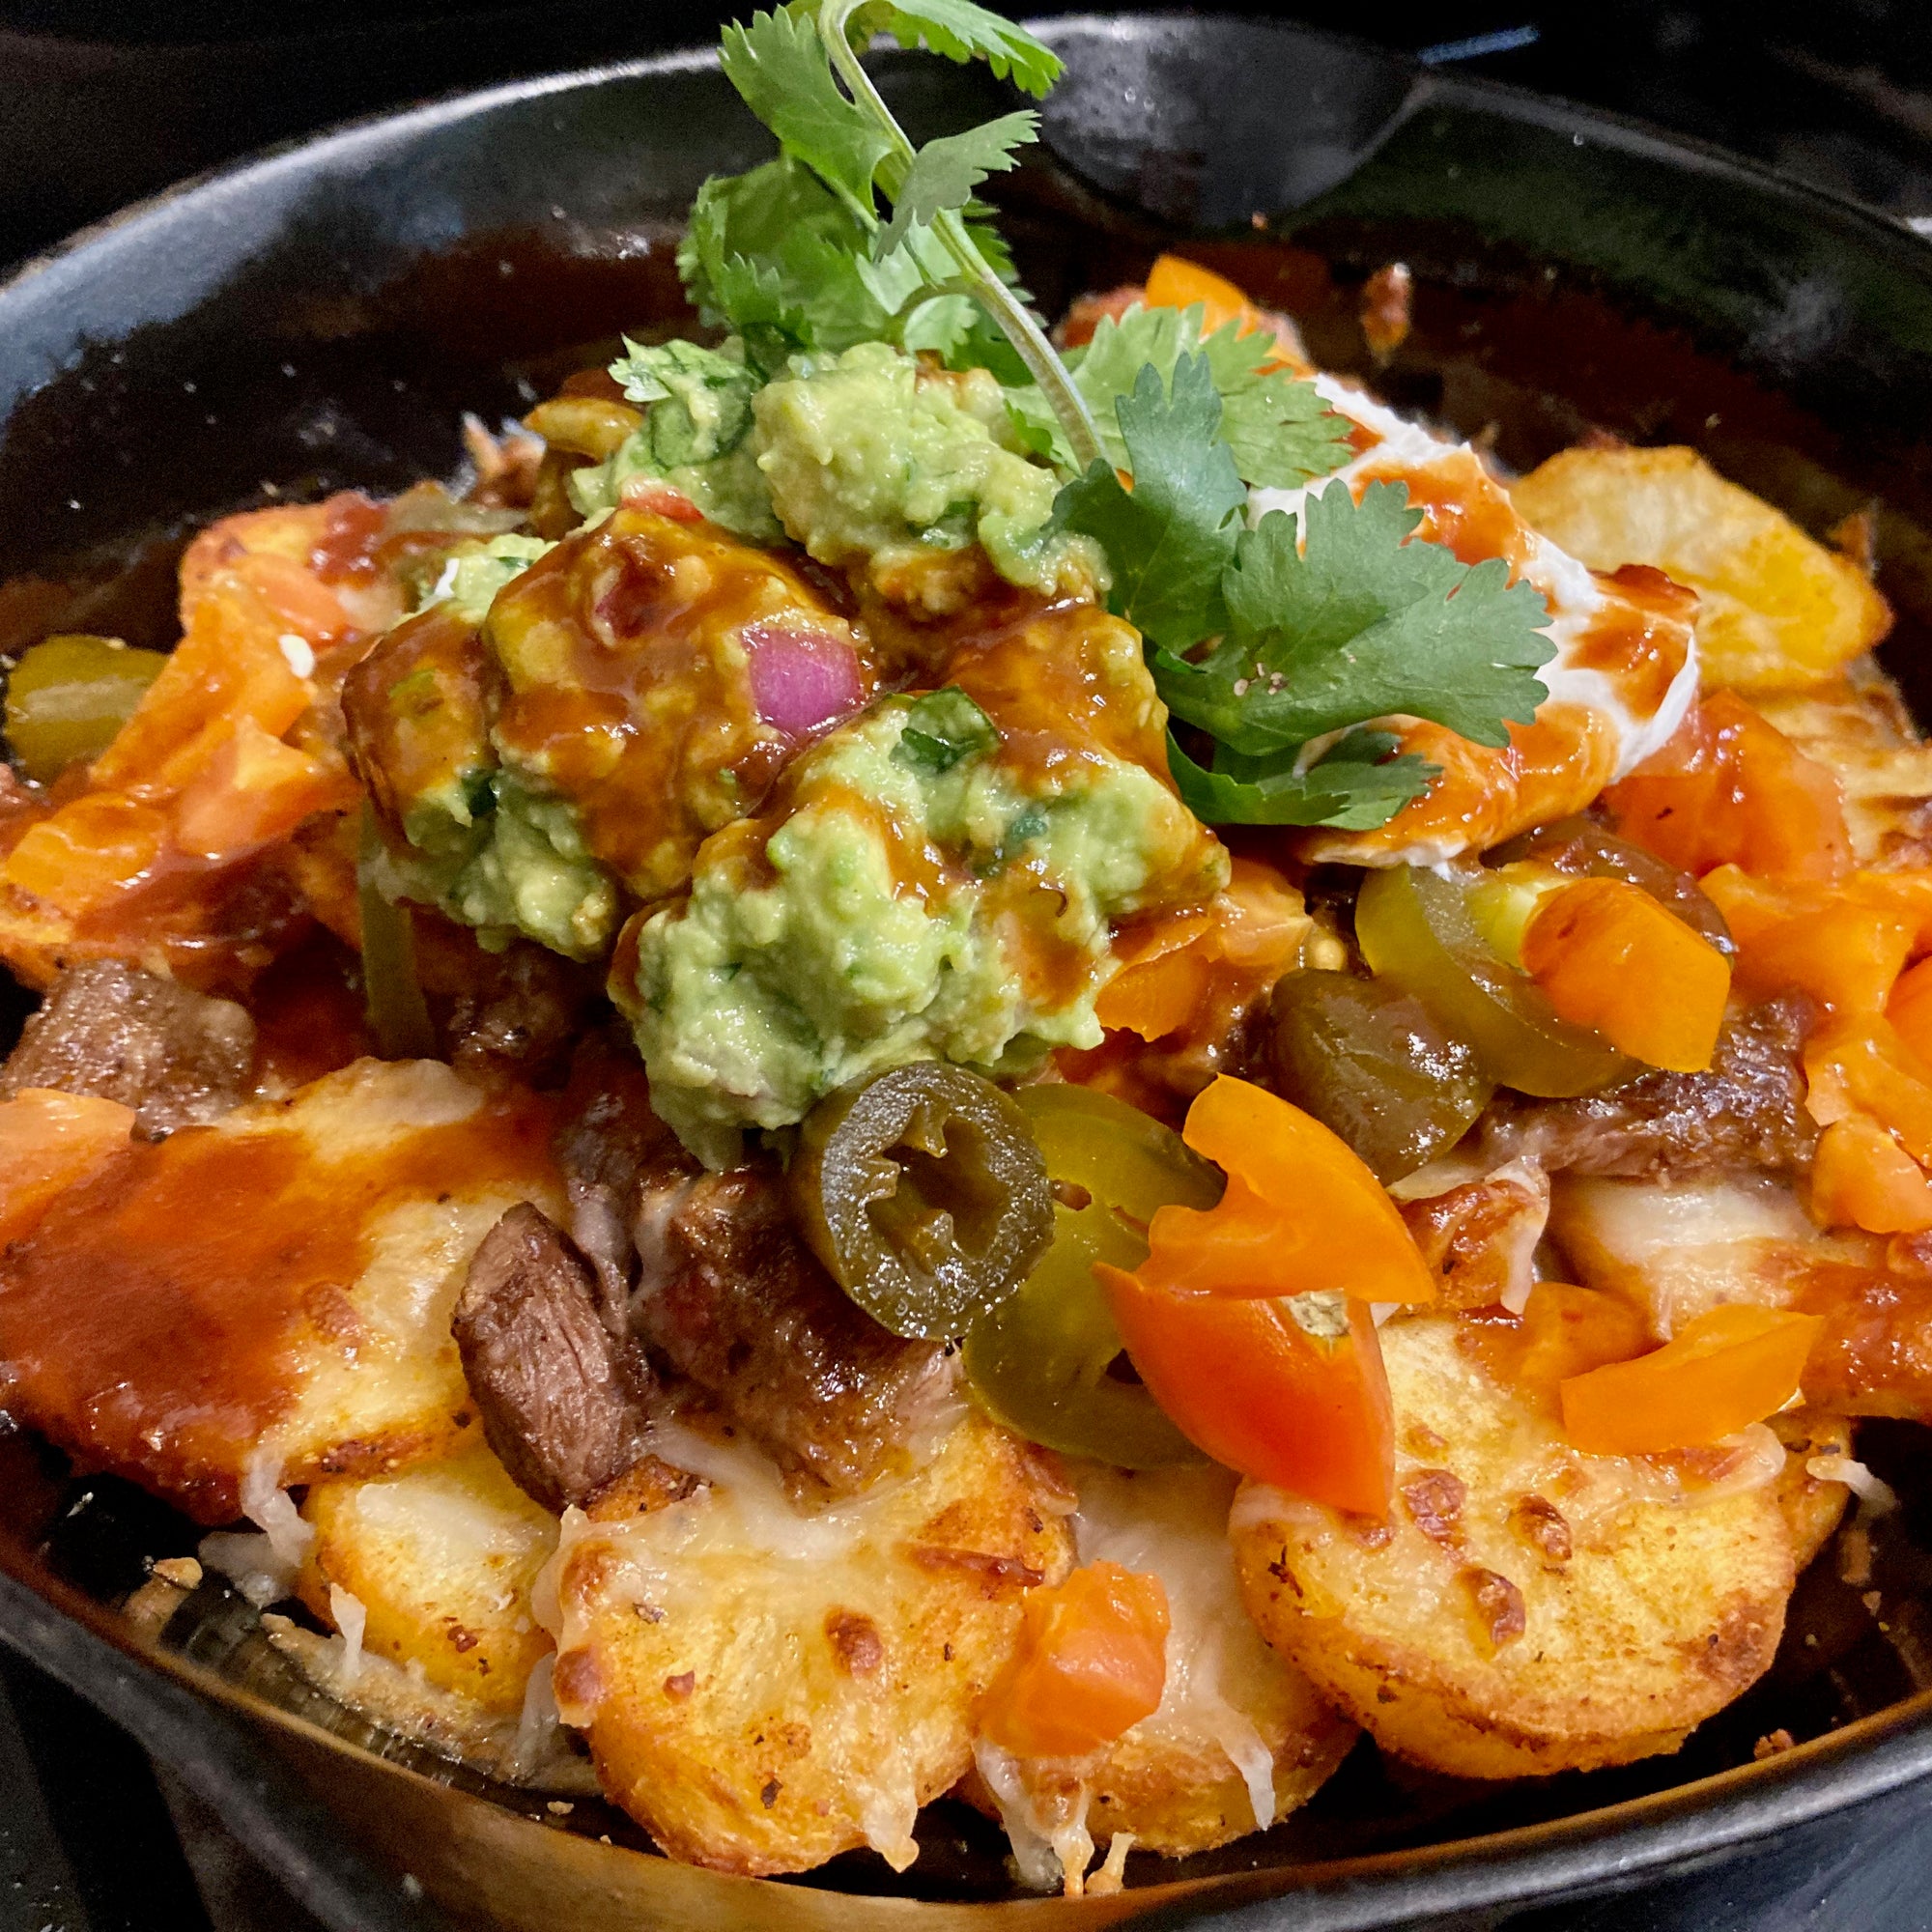
While the potatoes are cooking, prep the guacamole. Click here for our full recipe. And, season the steak on all sides with a generous sprinkle of Olé Olé seasoning and a drizzle of olive oil.
Set aside.
When the potatoes are fork tender, yet firm, they are done. Run them under cool water to stop the cooking process, then slice into ¼” rounds.
Arrange potato slices on a parchment paper covered cooking sheet and sprinkle with The Original seasoning then, drizzle with olive oil. Toss potatoes to coat completely.
Place in the oven and roast for about 10 minutes, then turn over and roast for another 10-15 minutes, until golden brown.
While the potatoes are finishing, cook the steak. Heat a skillet with a little oil until nearly smoking. Flap steak is best when served at about medium rare so it only takes a few minutes to cook. Depending on thickness, this will only take about 2-3 minutes per side. When steak is done, take it out of the pan and let it rest for approximately 10 minutes. After meat has rested, slice across the grain into ½” strips and then into bite size cubes.
When potatoes are cooked to a golden brown, remove them from the oven and arrange the slices in an overlapping flower petal pattern lining the bottom of a cast iron skillet.
Turn on the broiler.
Next, sprinkle cheese on the potatoes. Then add a layer of steak and cover with the remaining cheese. Put the skillet in the oven and broil for 3-5 minutes until the cheese is melted and browned.
Remove the skillet from the oven and add toppings, starting with chopped tomatoes, onions and jalapenos, then drizzle with salsa and add the scoops of crema and guacamole. Serve with cold beers or our refreshing Zeeladas for extra zing!
Enjoy!!!


